13.2 OAuth2 for ADOxx based Products
To access the RESTful APIs of an ADOxx-based product using OAuth2 (instead of Basic Authentication), additional configuration steps are required in the ADOxx Admin Toolkit.
Once OAuth2 is configured, you can create an OAuth2 authentication instance in OLIVE and use it to securely access APIs such as those provided by ADOIT.
OAuth2 offers several advantages over Basic Authentication:
- No credential exposure: Username/password are not sent with every request
- Token-based access: Short-lived access tokens improve security
- Granular permissions: Scopes restrict access to specific APIs or operations
- Revocation support: Tokens can be invalidated without changing user credentials
Enable ADOxx based Product for OAuth2
Log in to the Admin page of your ADOxx-based product.
For this step-by-step guide, we use ADOIT version 17.2.2. In newer versions, the navigation and user interface may differ slightly.
Navigate to the Authentication section.
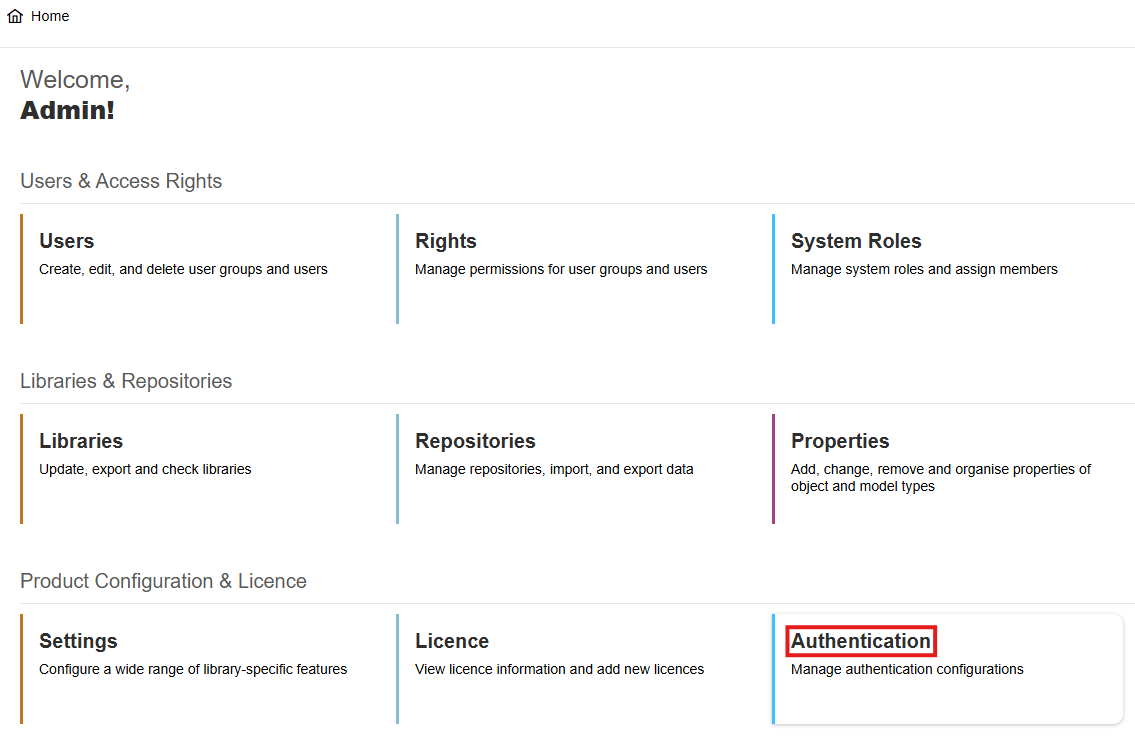
Select the OAuth2 configuration.

Enable OAuth2 and click Create to define a new client. This client will later be used to authenticate API requests.

Configure the client as follows:
| Property | Value |
|---|---|
| Type | confidential |
| ID | The client_id, e.g. OLIVE |
| Name | Descriptive name, e.g. OLIVE |
| Redirect URI | Base URI + "oauth2/redirect" |
| Secret | Generate using the Create button |
E.g.:
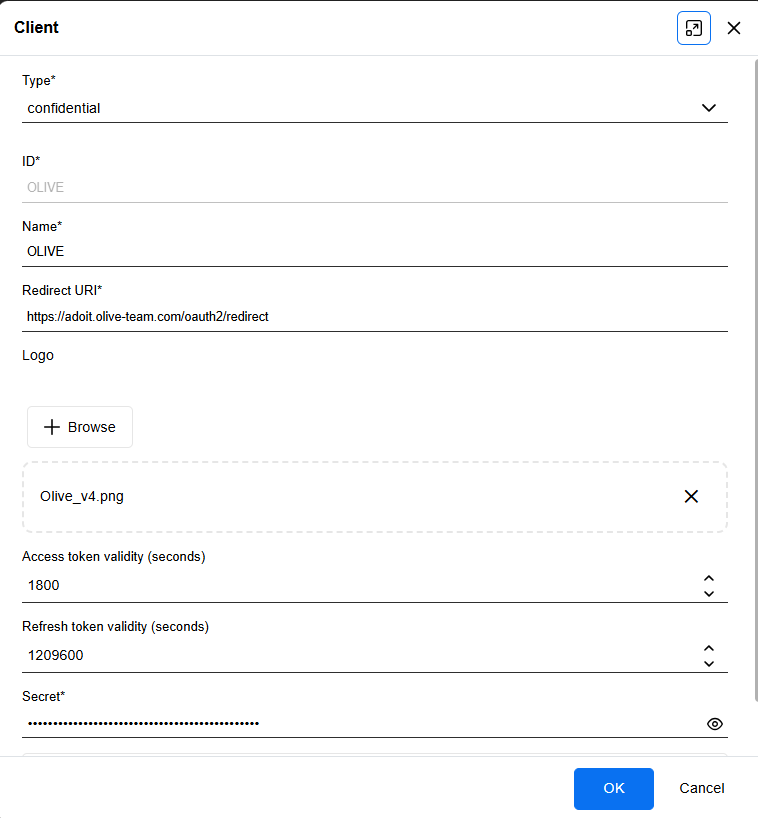
After creation: Record the Client ID and Client Secret — these are required for authentication.
Now we need to ensure that RESTful services are enabled.
Navigate to "Settings" on the main page.
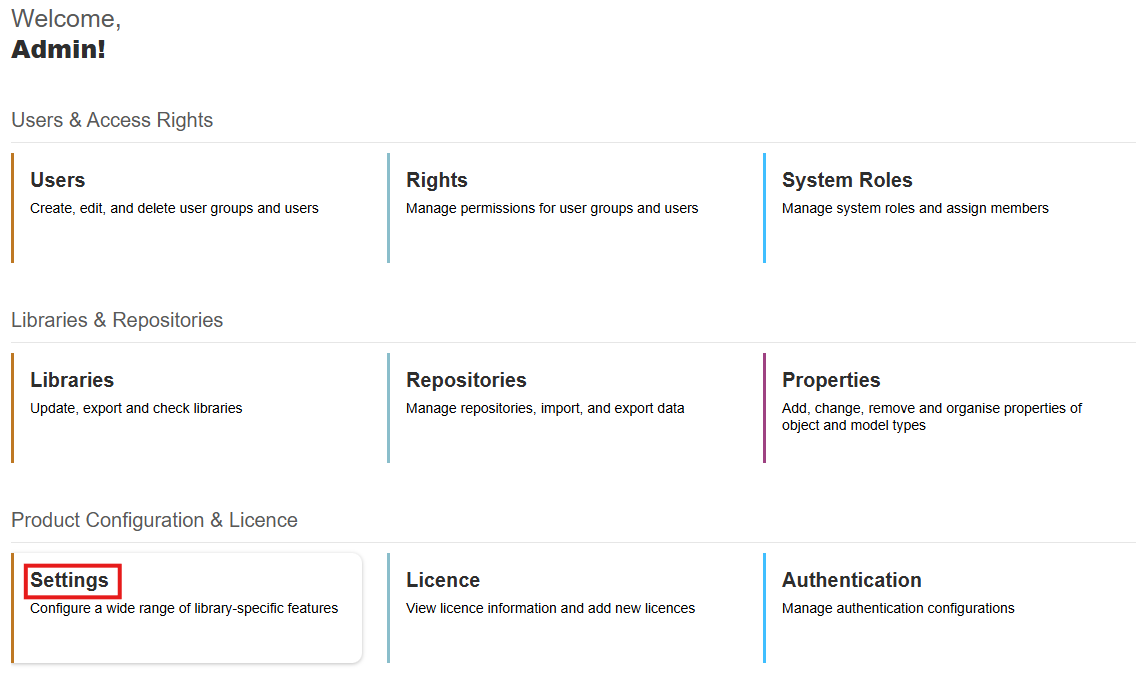
Click on "General" under the section of "Standard RESTful services".

Verify that Standard RESTful Services are activated.

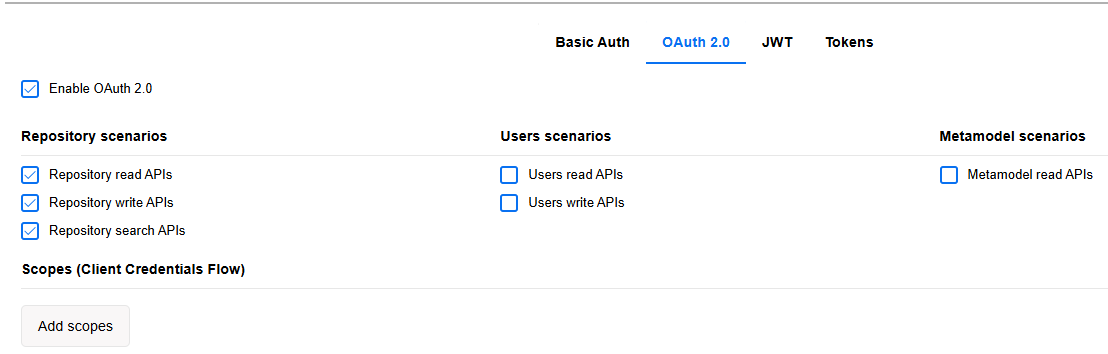
Navigate to: OAuth 2.0
-
Enable OAuth2 (if not already enabled)
-
Activate the required scenarios depending on your use case, such as:
- Repository Read
- Repository Write
- Search APIs
Next we define a scope.
Scopes define which resources and operations a client is allowed to access.
Click Add scopes and configure:
-
Name
Example:test -
Click Next
-
Assign a Technical User
Example:Technical_StandardRESTfulServices -
Click Save
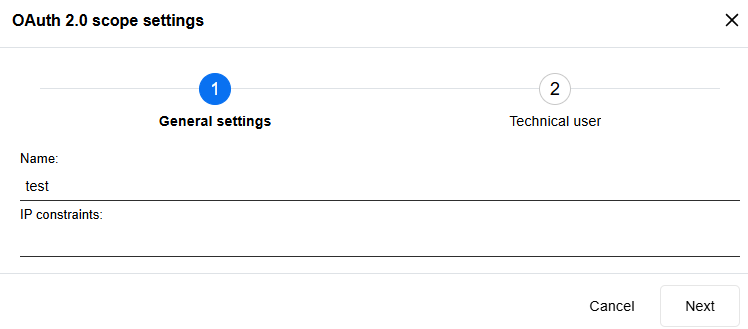
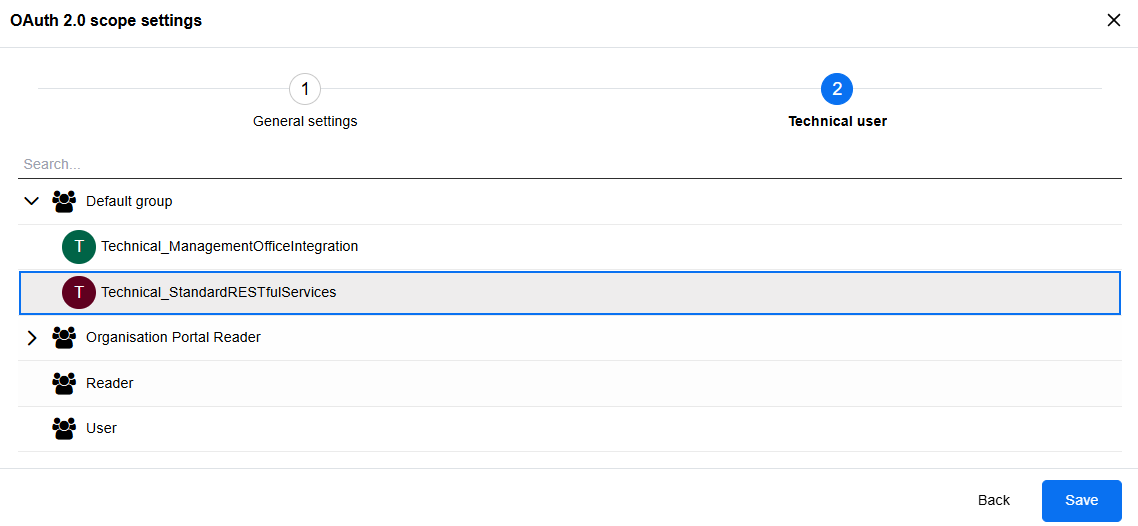
At this point, the following components are configured:
- OAuth2 authentication is enabled
- An OAuth2 client (with Client ID and Secret) is created
- A scope defining API access permissions is defined
You can now use this configuration to authenticate via OAuth2 and access the RESTful APIs of your ADOxx-based product.
Create the OAuth2 Auth Entry
In the OLIVE editor create an OAuth2 entry. Use the ID, the secret, and the scope you configured in the ADOxx based product.
For example:
{
  "id": "adoit-oauth2",
  "name": "ADOIT OAUTH 2",
  "tags": [],
  "type": "auth",
  "version": "1.0.0",
  "auth": {
    "type": "oauth",
    "secret": {
      "key": "base_a_oauth-auth",
      "value": {
        "audience": "https://adoit.yourdomain.com",
        "clientId": "YOUR_ID",
        "clientSecret": "YOUR_SECRET",
        "grantType": "{client-credentials}",
        "tokenUrl": "https://adoit.yourdomain.com/oauth2/token?grant_type=client_credentials",
        "scope": "YOUR_SCOPE"
      }
    }
  }
}
Test the Connectivity
Register a simple REST datapoint that uses the new auth entry, e.g.:
    {
      "id": "adoit-getVersion",
      "type": "datapoint",
      "version": "4.0.0",
      "tags": [
        "openapi",
        "openapi-adoit-qp0zl"
      ],
      "name": "Get version",
      "description": "Endpoint for retrieving version information",
      "datapoint": {
        "type": "http",
        "http": {
          "url": "https://adoit.yourdomain.com/rest/4.0/version",
          "method": "GET"
        },
        "auth": "adoit-oauth2"
      },
      "output": {
        "schema": "adoit-schema-version"
      }
    }
Once created, click on the "Test connectivity" button:

No input is needed for this datapoint:

Related Links
Authentication for Connectivity - OAuth2 - OAuth2
Data Metamodel Description - OAuth Auth
OAuth2 - https://oauth.net/2/